NEON OBJECT · PROMPT GUIDE
Give your neon object a clear shape and a place to glow.
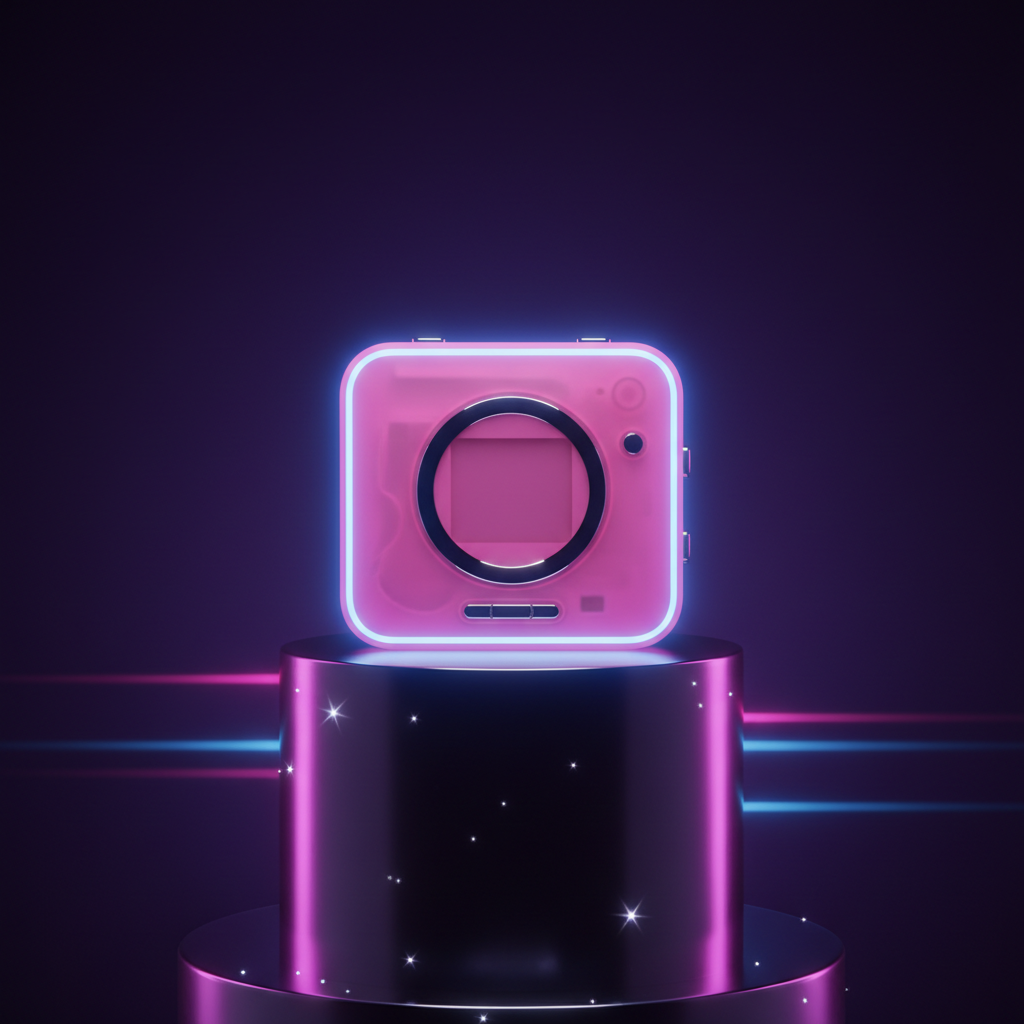
Start with one object, one material and one light direction. The example below shows an actual Dreamy Y2K result and its original prompt, so you can see how those choices work together.
Try Neon Object in the studioBuild the prompt in four parts
- 1. Subject
- Name one recognizable object: a portable music player, headphones or a desk clock. Add its position or viewpoint if that matters. Several competing subjects can make a small image harder to read.
- 2. Material
- Describe the surface separately from the object. In the example, the player is translucent pink and the pedestal is glossy chrome. Keeping those materials attached to specific objects makes your intention clearer.
- 3. Light
- Give the light a color and a role. Electric-blue rim lighting asks for a bright edge; it is more specific than simply asking for neon everywhere. Check whether the outline remains visible against the background.
- 4. Composition
- A centered subject and a dark violet studio background give the reflective surfaces room to stand out. Start at 1:1 to follow this example, then choose another supported ratio for your intended layout.
Prompt → real result
Describe a neon object, then make it your own
Start with a subject, then describe its material, lighting, and background. This image was generated in Dreamy Y2K using the exact prompt below.
- Choose “Use this example in the studio” and sign in in this tab.
- Review the prefilled prompt, Neon Object style and 1:1 aspect ratio. Edit any detail before generating.
- Generate, review your result, and download the image. Change one detail to explore another look.
The prompt used for this image
A translucent pink portable music player on a glossy chrome pedestal, electric-blue rim lighting, tiny star-shaped reflections, a dark violet studio background, centered composition, no text, no logos.Results vary between generations; this prompt does not guarantee an identical image. An account and credits are required. Check the displayed credit cost before generating.
Use this example in the studioOpen in this tab to load the prompt, Neon Object style and 1:1 ratio after signing in. If your browser blocks saved settings, copy the prompt and choose the settings manually.
Change one detail at a time
These are prompt-editing ideas, not additional tested outputs. Keep the other parts of the original prompt so you can judge the effect of each change.
- Swap translucent pink for translucent mint to explore a different shell color.
- Swap electric-blue rim lighting for soft violet rim lighting to change the edge color.
- Swap the portable music player for a desk clock to explore another subject. Review the new shape carefully.
Review the image before using it
Check the silhouette, reflections and small controls at full size. Look for accidental lettering, distorted parts or details you did not ask for. The prompt includes no text and no logos, but that instruction is not a guarantee. Choose a simpler prompt if the result feels crowded.
Before you generate
- Will the same prompt reproduce this image?
- No. Results vary between generations. This page gives you the original prompt and settings as a starting point, not a promise of an identical result.
- Do I need an account and credits?
- Yes. Sign in, choose Neon Object and check the displayed credit cost before submitting. Editing the text on its own does not generate an image.
- Can I put exact lettering on the object?
- Do not rely on this example for precise text or branding. It was prompted without text or logos. Inspect any lettering in your own result before using it.